This article may contain affiliate links. If you buy through them, Mornings and Mascara may earn a small commission at no extra cost to you. Learn more.
Achieving a perfected lip look is a nuanced endeavor, one that requires more than just the right shade of lipstick. It often hinges on a combination of technique, product choice, and an understanding of your own unique lip geometry. In my experience, I find that a well-executed lip can lift a whole makeup look, making it feel polished and intentional. Moreover, the lip area is a canvas that invites experimentation, allowing us to play with color and form. Here, I will break down the process into three essential steps that I believe can lead to a flawless pout.
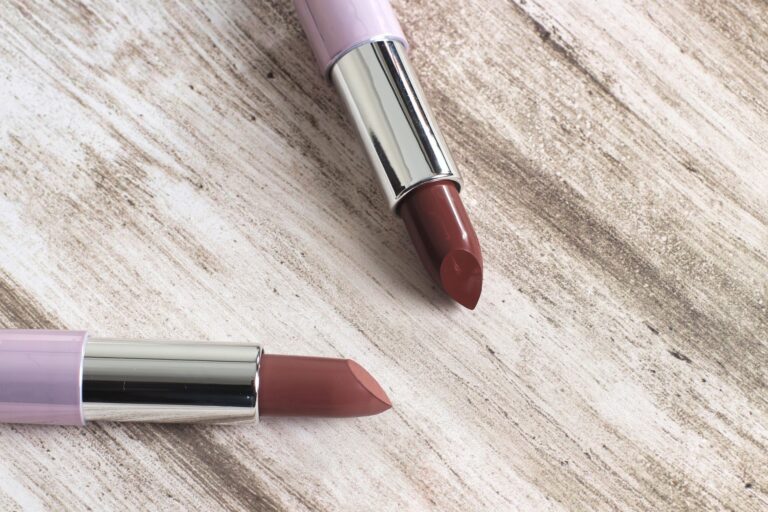
Step 1: Prep and Prime
The foundation of any lip look begins with preparation. This step is often overlooked, yet it is crucial for achieving a smooth application and enhancing longevity. Start by exfoliating your lips to remove any dead skin cells. A simple homemade sugar scrub, mixing sugar with a bit of honey or olive oil, works wonders. The sugar granules slough off dry patches while the oils provide necessary moisture.
After exfoliation, hydration is vital. I often use a nourishing lip balm rich in emollients, such as shea butter or jojoba oil, to restore moisture. Allow the balm to absorb for a few minutes, then gently blot off any excess. This process helps create a smooth base, allowing for a more even application of color.
Next, consider a lip primer. While not absolutely necessary, a good lip primer can enhance the wear time of your lipstick, especially if you opt for a matte formula. I prefer a lightweight, silicone-based primer that fills in fine lines and creates a seamless surface for application. The key here is to keep the layer thin to avoid a heavy or sticky feeling, as lip products should feel comfortable rather than cumbersome.
Step 2: Define and Outline
Once your lips are prepped, the next step is to define the shape. This is where a lip liner comes into play. Lip liners have evolved from being merely a tool to prevent feathering into a stand-alone product that can sculpt and enhance lip shape. Choose a liner that closely matches your natural lip color or the lipstick shade you plan to use.
To apply, start at the cupid’s bow, tracing the upper lip before moving to the corners. For the lower lip, begin at the center and work outward. I often use a light-handed technique, applying the liner in small, feathery strokes rather than a single, solid line. This mimics the natural lip contour and makes blending easier.
A quick note on color theory: warm-toned lip colors tend to look more vibrant against warm skin tones, while cool-toned lip colors complement those with cooler undertones. When choosing a liner, adhering to this principle can create a more harmonious overall look.
After outlining, I lightly fill in the lips with the liner. This not only provides a base for the lipstick but also ensures that if the lipstick wears off throughout the day, the color underneath will still offer some definition.
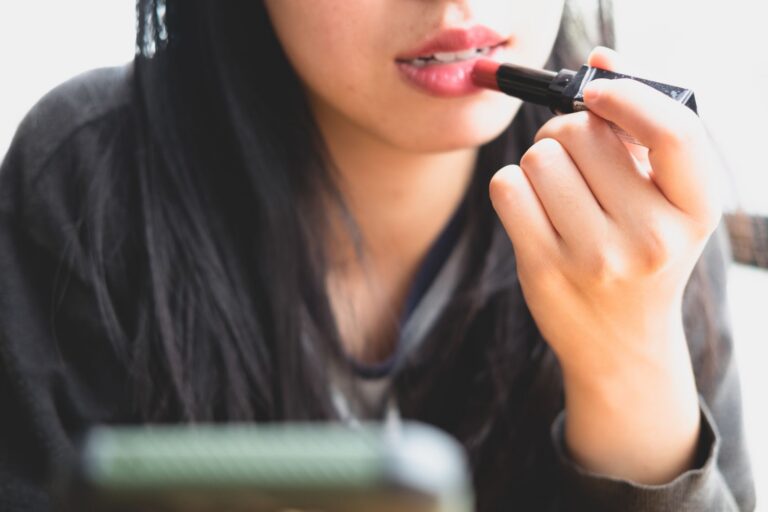
Step 3: The Perfect Application
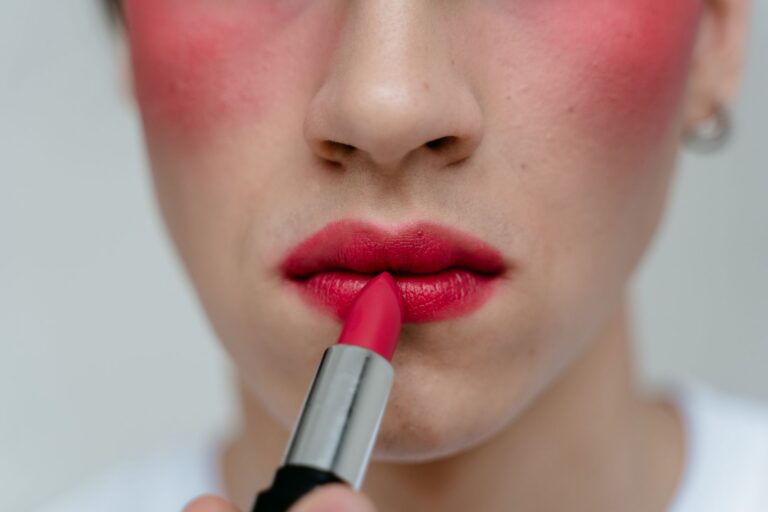
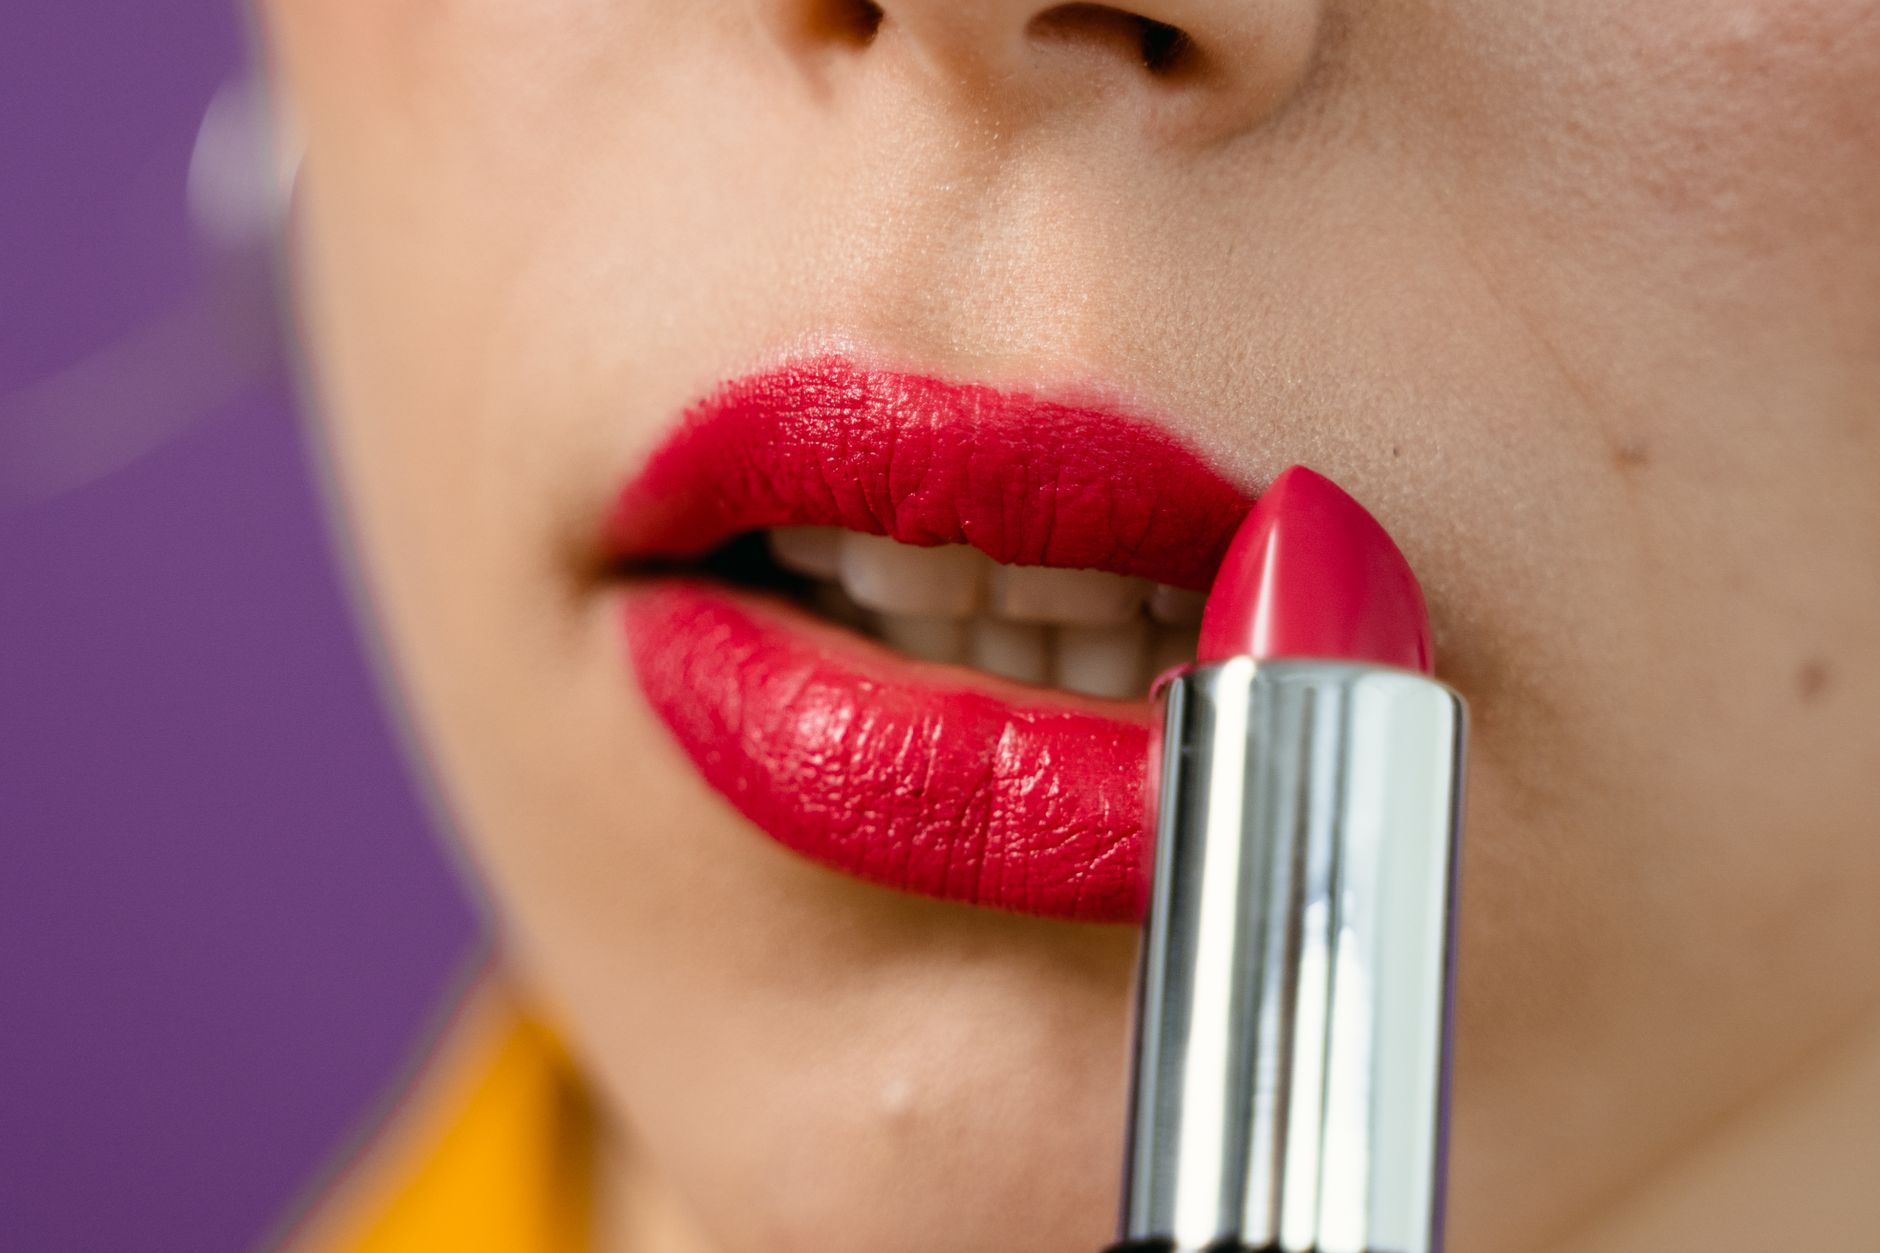
With the lips prepped and defined, it is time to apply your chosen lipstick. The application technique can vary depending on the formula. For a traditional bullet lipstick, I prefer using a lip brush for precision, especially with bold colors. A brush allows me to control the amount of product and focus on the edges without straying outside the liner.
For liquid lipsticks, which are known for their long-wear potential, I often use the applicator to my advantage. I start by applying from the center of the lips and moving outward, ensuring that I achieve even coverage. In my kit, I keep a few different formulas, but my favorites are those with a high pigment load that dry down to a matte finish without feeling overly drying.
After the initial application, I like to press my lips together gently to ensure the color adheres evenly. If I want to add extra dimension, I sometimes dab a tiny amount of highlighter in the center of the lips to catch the light, giving a fuller appearance. This technique has its roots in the classic ‘Cinderella’ method, which centers on enhancing the lips with light to create the illusion of plumpness.
“Lipstick is the ultimate seduction.” – A classic sentiment that resonates through the ages, reminding us of the power a simple swipe of color can wield.
Bonus Tips for Long-Lasting Wear
To ensure that your perfect pout lasts throughout the day, consider these additional tips. First, avoid overly oily or greasy foods, as they can break down the formulas quickly. If you find yourself needing to touch up, gently blot your lips before reapplying any product; this helps prevent buildup and keeps the color looking fresh.
Another technique that I’ve found effective is placing a tissue between your lips and lightly dusting translucent powder over the tissue. This sets the color without compromising the finish, especially useful for satin or creamy lipsticks, which can sometimes transfer easily. This method harkens back to theatrical makeup techniques used to achieve a long-lasting look under hot stage lights. It is both practical and a fascinating nod to makeup history.
A Personal Touch
In my own routine, I rely heavily on a selection of products that have stood the test of time. For instance, I often gravitate towards a classic red lipstick with a blue undertone, as this shade flatters my warm complexion while providing a timeless contrast. It effortlessly transitions from daytime chic to evening elegance. My go-to is a formula that offers a semi-matte finish; it provides the longevity I desire without sacrificing comfort.
Additionally, when I am feeling adventurous, I might layer a gloss over my lipstick for added shine. However, I choose a gloss that isn’t excessively sticky, ensuring that it enhances the lip look rather than distorting its shape. I find that a lightweight, tinted gloss adds both hydration and a youthful finish.
Closing Thoughts
The perfect pout is as much about the products you choose as it is about the techniques you employ. With careful preparation, thoughtful outlining, and precise application, you can create a lip look that feels both sophisticated and uniquely yours. Remember to experiment with different colors and formulas to discover what best suits your individual style. After all, makeup is a personal expression, and your lips are a beautiful canvas waiting to be adorned.